

This page is your go-to guide for getting started with the Confluence software. I hope this gets you on the right path to setting up your Confluence account, so you can start facilitating collaborations with your team and managing your projects!
Full Disclosure: Some links listed in this article are affiliate links. Please note I may earn a small commission for any purchase through these links. Thank you for supporting me, so I can keep creating high quality content to help you grow in your career and earn the income you deserve!
Confluence is one of the most common software tools used, in combination with Jira, to drive collaborations and facilitate projects with your team, because all documents can be created and shared real-time 24/7.
Click here to set up your own FREE account with the Confluence software, so you have admin access and your own privileges to play around with creating your own Space, Pages, and your own documentation. At the time of this writing, the Confluence software is free for up to 10 users (no credit card is needed), so you can setup your first Space, and start using it to create your own pages to track your team’s work and foster collaboration across different project documents.
If you’re applying to Technical Engineering, Project Manager, Program Manager, or Scrum Master jobs (especially in IT or Software Development), you’ve probably seen that many companies desire you to have experience using Confluence. If you have never used Confluence before, it will be very important to learn how to use it, and to become familiar with its features, so you can start facilitating collaborations with your team and managing your projects faster.
I encourage you to setup your own Confluence account by clicking here. Start testing things out, and begin playing around with Confluence, so you’ll know the basics of how to create and manage your team’s Space and Pages for creating different project documents.
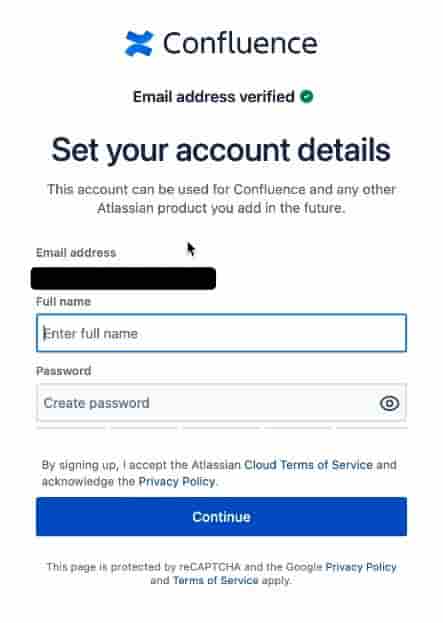
To create an account with Confluence, you’ll need to input your e-mail address, and afterwards, Atlassian will send you an email to verify it. Then, you will need to create your own password
Just keep in mind that the email and password combination you use, will be what’s used to log-in to your Confluence account. So, make sure you write this down and don’t forget it!
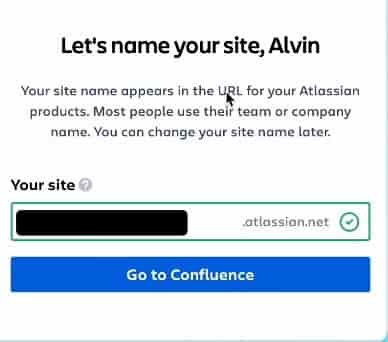
Atlassian will ask you to create a website for holding your team’s space and documentation. Think of this as the website which will store all your projects & documentation.
Make your website name easy to remember, so you can easily access it in the future!
As you’re typing in your website name, Atlassian will verify if your website name is available or if someone has already used it. If your website name is acceptable, then a green checkmark icon should show up, and you’ll be able to continue.
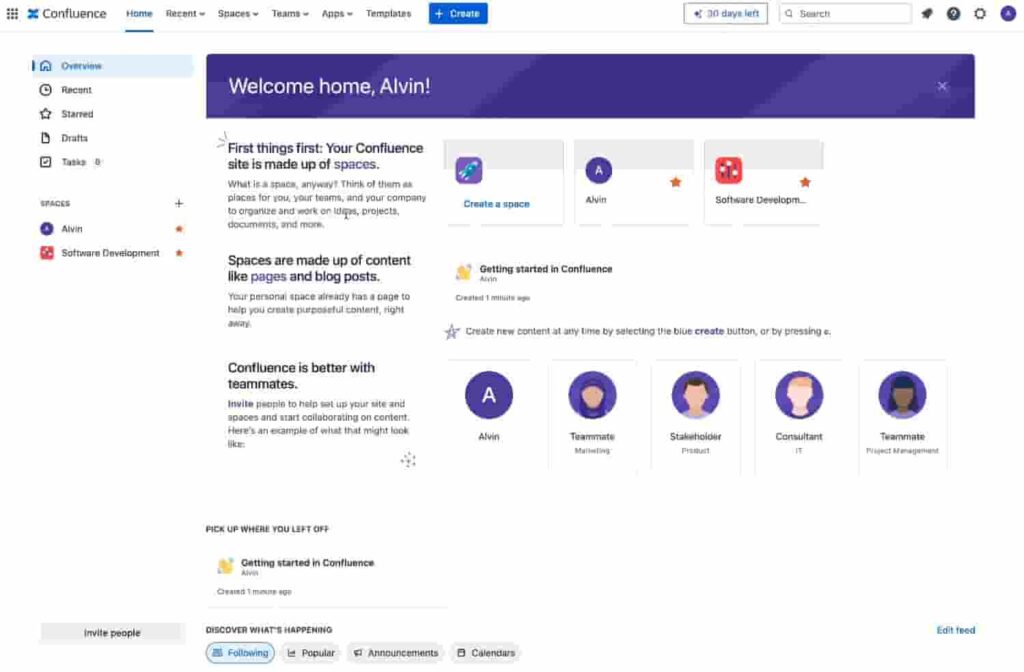
After you click “Go to Confluence”, Atlassian will ask you several questions to customize your profile and personalize your website. Feel free to skip these questions, since you can always go back and customize your profile at any point in time.
You’ll now see your Confluence Home Page setup, and now you can start creating your Spaces for each of the projects and/or teams you’re on.
To start playing around with the Confluence software, click here to watch my FREE course on how to use Confluence for Beginners, and you’ll learn the following: